
A few years ago, I dragged myself out of bed at 5:00 AM to hike up to the Mirante Dona Marta here in Rio de Janeiro. I wanted to catch the sunrise over Christ the Redeemer and Sugarloaf Mountain.
When the sun finally crested the horizon, the sky exploded in unbelievable shades of violet, orange, and gold. The mist hanging over the city glowed. It was one of the most beautiful things I had ever seen. I pulled out my phone, lined up the perfect shot, and tapped the shutter.
When I looked at my screen, I was crushed.
The photo didn’t look anything like reality. The foreground was a muddy, crushed black shadow. The vibrant orange sky looked pale and blown out. The mist didn’t look magical; it just looked like a dirty smudge on the lens.
For the longest time, I believed that taking great photos was entirely about the hardware. I assumed that because I was shooting on a smartphone instead of a five-thousand-dollar DSLR camera, my pictures were destined to look amateur, flat, and uninspiring.
I was completely missing the other half of the equation.
Taking a photo is just the gathering of ingredients. Editing is the actual cooking. Professional photographers don’t just point, shoot, and post. They develop their images, massaging the light and manipulating the colors until the digital file matches the emotional reality of what they saw with their own eyes.
You don’t need a heavy laptop or complicated desktop software to do this anymore. The device sitting in your pocket is a fully equipped digital darkroom. If you are tired of slapping cheap, aggressive social media filters onto your memories and calling it a day, it is time to learn the actual mechanics of image processing.
Here is my comprehensive, step-by-step guide on how to edit photos like a pro, using only your smartphone.
Step 1: Shoot in RAW (The Ultimate Foundation)
Before you even think about opening an editing app, you have to change how your phone captures the image in the first place.
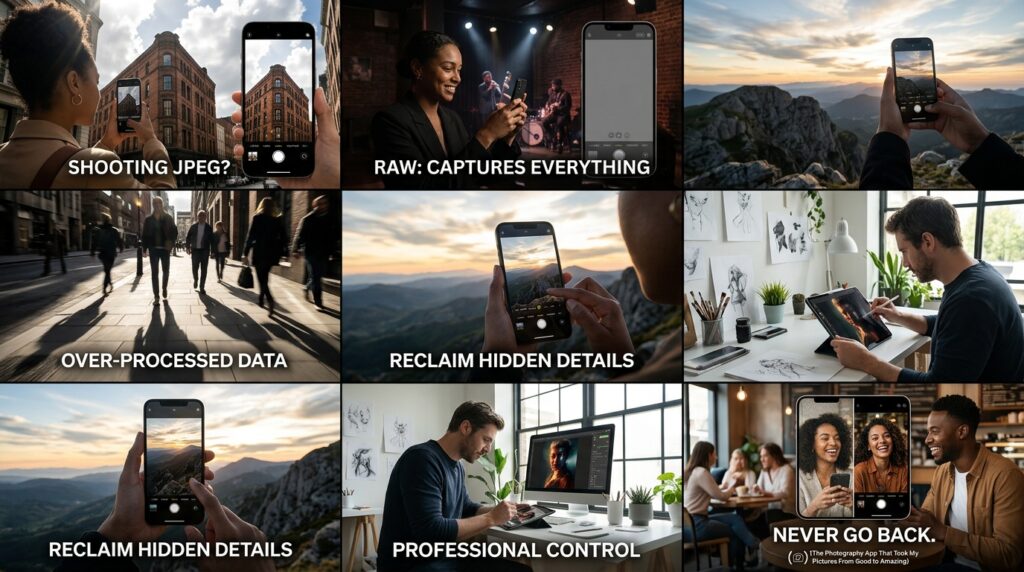
By default, smartphones shoot in a format called JPEG (or HEIC). When you take a JPEG, your phone’s internal software instantly makes a bunch of irreversible decisions. It decides how bright the shadows should be, how saturated the colors are, and how much artificial sharpening to apply. Then, it throws away all the remaining data to compress the file size.
Editing a JPEG is like trying to bake a cake using a pre-baked cake. You can’t change the flavor; you can only put frosting on it.
You need to switch your camera settings to shoot in RAW. A RAW file captures absolutely everything the sensor sees without applying any compression or stylistic choices. It looks flat and ugly right out of the camera, but it contains a massive amount of hidden data in the shadows and highlights.
Unlocking this data is the foundational step of professional mobile photography, which is exactly why I rely so heavily on (The Photography App That Took My Pictures From Good to Amazing). Once you start working with the rich, uncompressed data of a RAW file, you will never go back to JPEGs.
Step 2: Fix the Light Before You Touch the Color
The biggest mistake amateurs make is jumping straight into the color settings or applying a preset before the underlying light is balanced. You have to build the house before you paint the walls.
When you import your photo into an editing app (like Lightroom Mobile or Snapseed), navigate straight to the “Light” or “Exposure” panel.
Ignore the main “Exposure” slider for a moment. Instead, focus on these four specific sliders:
-
Highlights: This controls the brightest parts of your image (like the sky or a bright window). If your sky looks completely white, pull the Highlights slider down. You will be shocked to see the blue color and cloud details suddenly reappear from the glaring white void.
-
Shadows: This controls the darkest parts of your image. If your subject’s face is hidden in the dark, push the Shadows slider to the right. It will lift the darkness without blowing out the rest of the picture.
-
Whites and Blacks: These set the absolute extreme points of your photo. You want your darkest pixel to be true black, and your brightest pixel to be true white, creating a full spectrum of contrast.
By simply recovering your highlights and lifting your shadows, you instantly restore the dynamic range of the scene.
Step 3: Mastering the Tone Curve
If you want your photos to look like they belong in an indie magazine, you have to conquer the Tone Curve.
It looks like a terrifying, complicated graph with a diagonal line running through it, but it is actually the most powerful tool in your entire phone. The bottom left of the curve represents your absolute blacks, the middle represents your midtones, and the top right represents your whites.
To get a professional, cinematic look, you want to create an “S-Curve.”
Tap three points on the line: one in the shadows, one in the middle, and one in the highlights. Slightly pull the highlight point up, and slightly pull the shadow point down. This creates a gentle “S” shape. This adds a beautiful, rich contrast that looks infinitely more natural than just using the basic “Contrast” slider.
The Pro Secret: To get that nostalgic, faded-film look, grab the very bottom-left point of the curve (the absolute blacks) and drag it straight up the left wall of the graph. This takes your pure, inky blacks and turns them into a soft, dark gray matte. It instantly gives your digital smartphone photo an analog, vintage soul.
Step 4: Color Grading with HSL Sliders
Amateurs adjust the overall “Saturation” of a photo, which makes every single color brighter at the same time, usually resulting in radioactive-looking grass and neon-orange skin tones.
Professionals use the HSL (Hue, Saturation, Luminance) panel. This allows you to surgically target specific colors without affecting anything else in the frame.
Let’s break down the three components:
-
Hue: This changes the actual shade of the color. You can take the blue of the sky and shift it toward a moody teal, or shift the green of the trees toward a warm, autumnal yellow.
-
Saturation: This changes the intensity of a specific color. If someone is wearing a distracting bright red shirt in the background, you don’t have to ruin the whole photo; just select the Red channel and pull the saturation down.
-
Luminance: This is the secret weapon. Luminance changes the brightness of a specific color.
If you take a portrait and the person’s skin looks a bit dark or muddy, go to the Orange channel in the HSL panel and increase the Luminance. It will beautifully brighten their skin tones without touching the background. Once you understand Luminance, you unlock one of the most powerful (Hidden Editing Features in Photo Apps That Improve Photos Instantly). It gives you total control over the mood of the scene.
Step 5: Directing the Eye with Local Adjustments
Our eyes are naturally drawn to the brightest, sharpest, and warmest parts of an image. When you just edit the entire photo globally, your subject often gets lost in the background clutter.
You need to use local adjustments to tell the viewer exactly where to look.
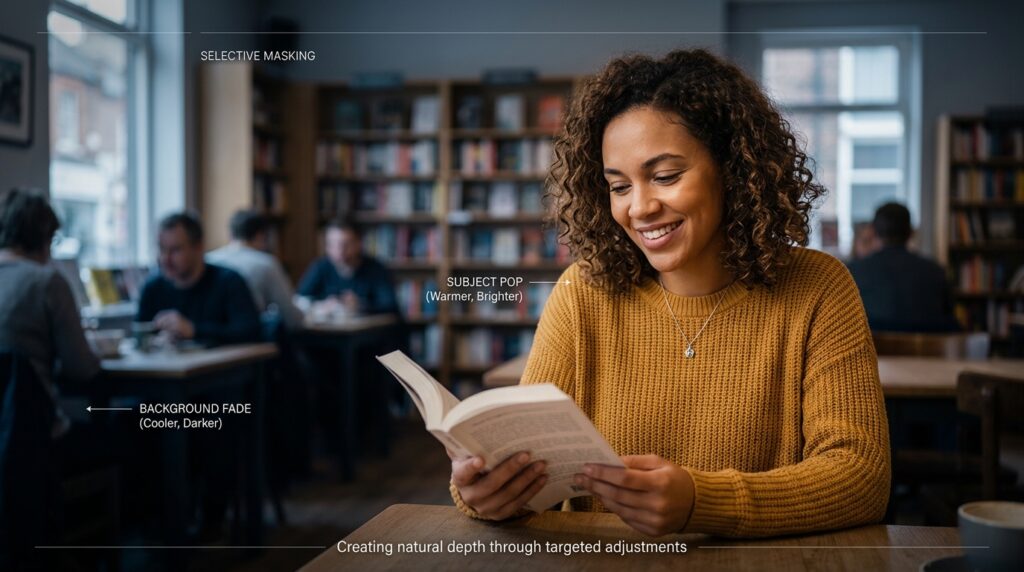
Most advanced apps have a “Masking” or “Selective” tool. I use this constantly to create subtle vignettes and spotlights.
-
The Subject Pop: Draw a radial mask (a circle) over your main subject. Slightly increase the exposure, warm up the temperature, and add a tiny bit of sharpness inside that circle.
-
The Background Fade: Now, invert that mask so you are only affecting the background. Slightly lower the exposure and cool down the temperature.
By making the subject slightly brighter and warmer, and the background slightly darker and cooler, you create a massive sense of three-dimensional depth. The subject practically leaps off the screen.
Step 6: The Art of Dodging and Burning
Dodging and burning is a technique as old as film photography itself, and it is entirely possible to do it on your touchscreen. It simply means manually painting light and shadow onto specific areas of the image.
I use a brush tool set to a very low opacity (around 10%).
If I am editing a landscape, I will literally paint extra light onto the tops of the mountains where the sun is hitting them (Dodging), and paint shadows into the valleys to make them look deeper (Burning).
If I am editing a street portrait, I will use a tiny dodge brush to add a catchlight to the subject’s eyes, making them sparkle, and use a burn brush to deepen the shadows under their jawline for a stronger profile. It takes a few extra minutes of swiping your finger across the screen, but it elevates the image from a snapshot to a fine art piece.
Step 7: Clean Up the Clutter
A great photo is often defined by what is not in the frame.
You finally get the perfect shot of a monument, but there is a bright orange traffic cone in the corner, a stray power line cutting across the sky, and a piece of trash on the sidewalk. These elements break the illusion of the photograph.
Use the “Healing” or “Clone Stamp” tool. Zoom way in on your photo, adjust the size of the brush so it just barely covers the distraction, and tap it. The app will sample the surrounding pixels and seamlessly erase the garbage.
Be ruthless with this. Remove the dust spots on the lens, the distracting exit signs in the background, and the random tourists photobombing your perfect beach shot. A clean composition looks instantly more professional.
Step 8: Texture, Grain, and Exporting
Modern smartphone cameras suffer from over-processing. They use intense algorithms to artificially sharpen the image and aggressively wipe away digital noise. The result is often a photo that looks “plastic” and unnaturally smooth.
To make your photo look real again, you actually need to add a little bit of imperfection back into it.
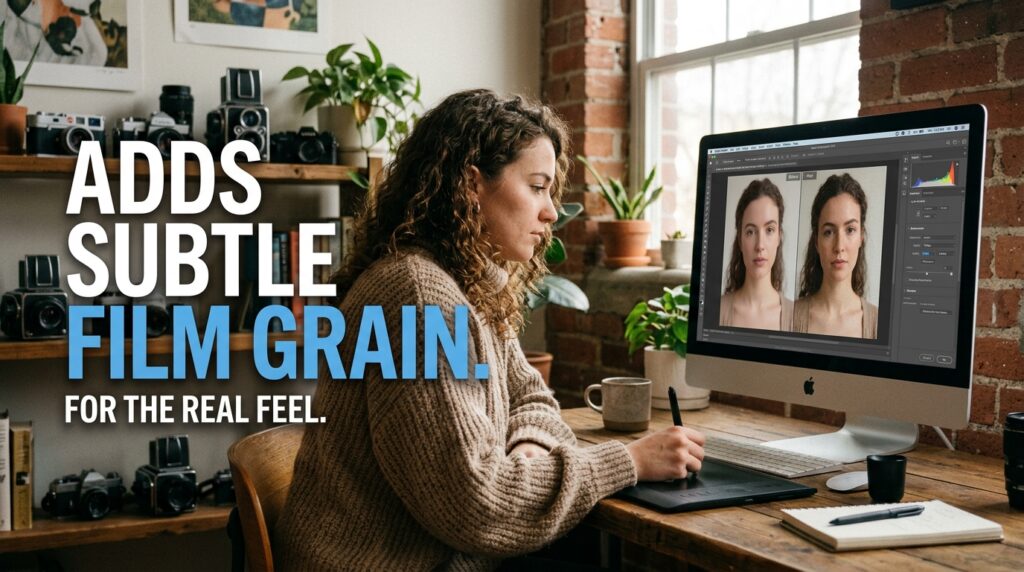
I always finish my edits by adding a subtle layer of film grain. It isn’t about making the photo look old or degraded; grain adds a physical texture that unifies all the different edits you just made. It ties the shadows and the highlights together, making the image look like it was printed on physical paper rather than generated by a computer.
When you are finally ready to export, pay attention to the settings. Don’t export at the absolute maximum, uncompressed file size if you are just posting to Instagram. Social media platforms will aggressively compress massive files, often ruining your sharpness. Export your photos at a width of 1080 pixels on the short edge, which is the exact dimension Instagram uses, ensuring your photo stays crisp and clean on the feed.
Final Thoughts on Finding Your Aesthetic
Editing is not about deceiving people; it is about translation. The camera sensor is a stupid piece of hardware. It doesn’t know what it felt like to stand on that mountain at sunrise. It didn’t feel the cold wind, and it didn’t feel the awe.
Your job as an editor is to translate that feeling back into the pixels.
Developing a personal editing style takes time. You are going to ruin a lot of photos before you get it right. You are going to slide the saturation way too high, crush your blacks too far, and make some incredibly muddy-looking portraits. That is all part of the digital darkroom process.
The best way to learn is to simply sit on your couch, open a raw file, and start aggressively pulling sliders left and right just to see what happens. If you are looking for the exact software tools to start practicing with, I highly suggest taking a look at my curated list of the (10 Photo Editing Apps I Keep on My Phone).
Stop settling for the flat, boring reality that your phone’s default camera app gives you. Take control of the light, manipulate the colors, and start turning your everyday snapshots into visual art.
